jBlocks Environment
Choosing the platform
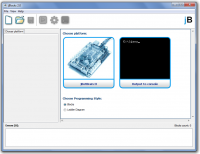
After launching the environment will offer us to choose the platform which we are going to develop the software for. You can also use the choice to open an existing program file. You should use the console output in case of wanting to make a program which will only run on a computer with a console output.
Environment description
Command pallete
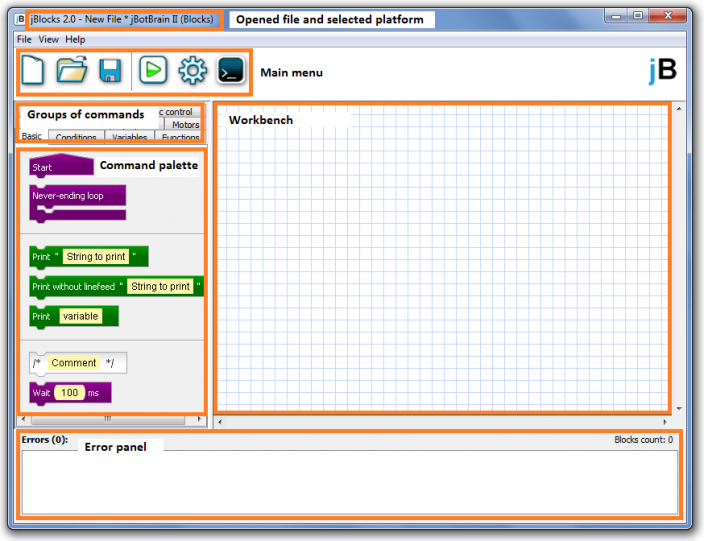
The command pallete serves for choosing the right blocks (commands) which are divided into a few groups. Each group of blocks has a different function. More information are to be found in the Commands description section of this manual. You can simply select between the commands by dragging a command and dropping it onto the workbench.
Workbench
The workbench is used for viewing and editing your program.
Blocks
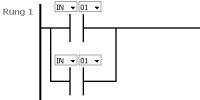
Ladder diagrams
You can change the desktop background by selecting View → Net.
Dashboard
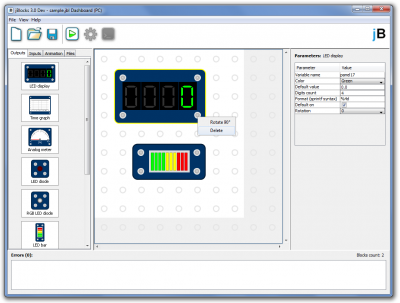
The parameters of selected panel can be changed in right part of the main window. Every panel must have the variable name in order to receive or send values to the jBotBrain II. The name doesn't have to be unique and can be shared between more panels.
If no panel is selected, it is possible to change whole Dashboard's parameters: width, height, window title and background.
| Deleting a panel | Right mouse button | |
| Rotating a panel | Right mouse button or parameters window | |
Error panel
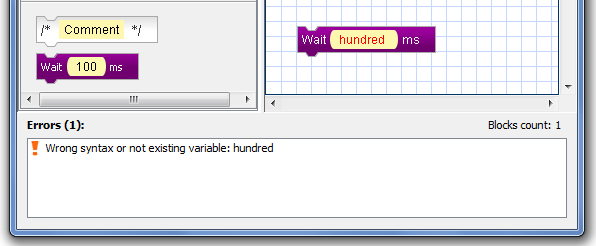
The error panel shows you all the errors caused by a faulty input into the text array. The text array with an error inside will turn red immediately. If the program contains errors, it is not possible to compile it and upload it into the jBotBrain.
Error description:
- Error: „Start“ block not found - There is no Start block in the program, which serves for marking the beginning of the program. The computer does not know, where to run the program from.
- Wrong syntax or not existing variable - The expression was put in inaccurately (e.g. unclosed bracket, wrong operator, etc.) or contains a reference to a non-existent variable or function.
- Identificator already exists or can not be used - Selected identificator (a variable´s or function´s name) has been found in a program and, due to the colission, it is not possible to use it again. Either it collides with each other or it is also possible to find a collision with a Java language keyword (abstract, boolean, break, byte, case, catch, char, class, continue, default, do, double, else, extends, false, final, finally, float, for, if, implements, import, instanceof, int, interface, long, native, new, null, package, private, protected, public, return, short, static, super, switch, synchronized, this, throw, throws, transient, true, try, void, volatile, while)
- Field must contain valid variable name - Valid characters to be used here are both lower and upper case (w/o diacritic) and numbers 0-9.
- Variable does not exist - The variable you are calling does not exist in the program or has not been defined yet (e.g. by using the Set Variable block).
- Function does not exist - Required function has not been created yet (use the Function block to do so).
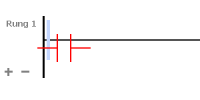
- Rung is shorted - Rung does not contain any output.
Program compilation and its upload
Before compiling and uploading the program it is required to connect the PC to the jBotBrain II using a USB cable. jBlocks will now convert your program from the graphic design into a Java source code, which is immediately compiled into a binary and uploaded via the USB into the jBotBrain. To upload the program press the Run button.
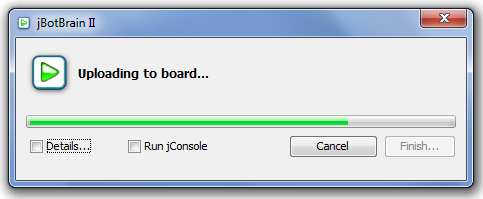
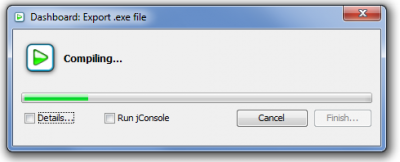
After you do so, a window will appear, giving you information about the compilation and uploading status. In an error occurs you can find out the reason by checking a Details box.
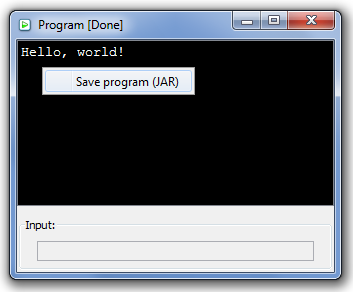
In the Console mode, a window with running program appears. This windows allows numerical input from keyboard. It is also possible to save created program as JAR archive (right click in the windows with running program):
The program in JAR archive can be run using command line on any personal computer with Java Runtime Environment (JRE) installed:
java -jar MyProgram.jar
If Dashboard is being edited, it is possible to save it as an standalone executable file (*.exe) which can be run on every computer with Windows and Java JRE (Runtime Environment) without having the jBlocks application installed. This can be done in menu File → Export *.exe file:
Viewing a source code
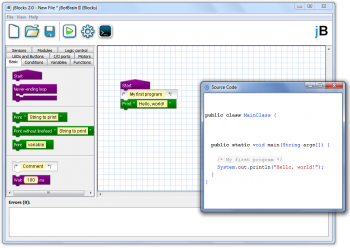
If you want to see the Java source code (jBlocks pre-compilation output), just click View → Source code in the main menu:
The source code will appear highligthed in a new window. You can copy the output into the Eclipse SDK and change it as you wish. Changes made in the jBlocks environment have no effect on the final program.
Saving and loading files
jBlocks offers you the oportunity to save and open your unfinished programs. You can easily save and open your unfinished project by choosing the Save or Load buttons on the main toolbar, but you can find them also in the File menu. Your program will be saved as a .jbl file. It is also possible to open the file directly by clicking on it from the Windows explorer, if you have the *.jbl files associated with jBlocks.
Although the .jbl files are XML documents, it is higly recommended NOT to change them directly because of the very high probability of corrupting the file structure and not being able to make it work again.
If you want to save the visual form of your program, select the Save as a picture button in the File menu. File format of the picture is PNG.
Changing the environment´s language
You can change the language during the installation process. If you want to change it later, select your language by clicking View → Language buttons. It is required to restart the application after changing the language. Nowadays you can choose between Czech (Čeština) and English.
